9/22/2013 11 hours, 209 hours total. It has been awhile since I've posted an update to this blog. September has been a busy month and build time has been limited. I was in Reno last weekend for the air races. Had a great time with a couple of old college buddies. Great time!!
I have been making progress and even had some help from a friend of mine, Dane. This work centered around prepping the main and nose ribs. Important and time consuming work. I finished priming the ribs yesterday and started assembling the left wing today.
Okay, all ribs ready for priming. Deburring, sanding and smoothing and cleaning complete. Ribs are tagged so I remember which ones are left and which ones are right.
This is the set-up I used to paint the ribs. I wanted to paint outside, but it is too windy and too warm. So I settled in the garage and I used spray cans for the primer. This is an expensive way to go, but I was anxious to make some progress. This is a before shot!
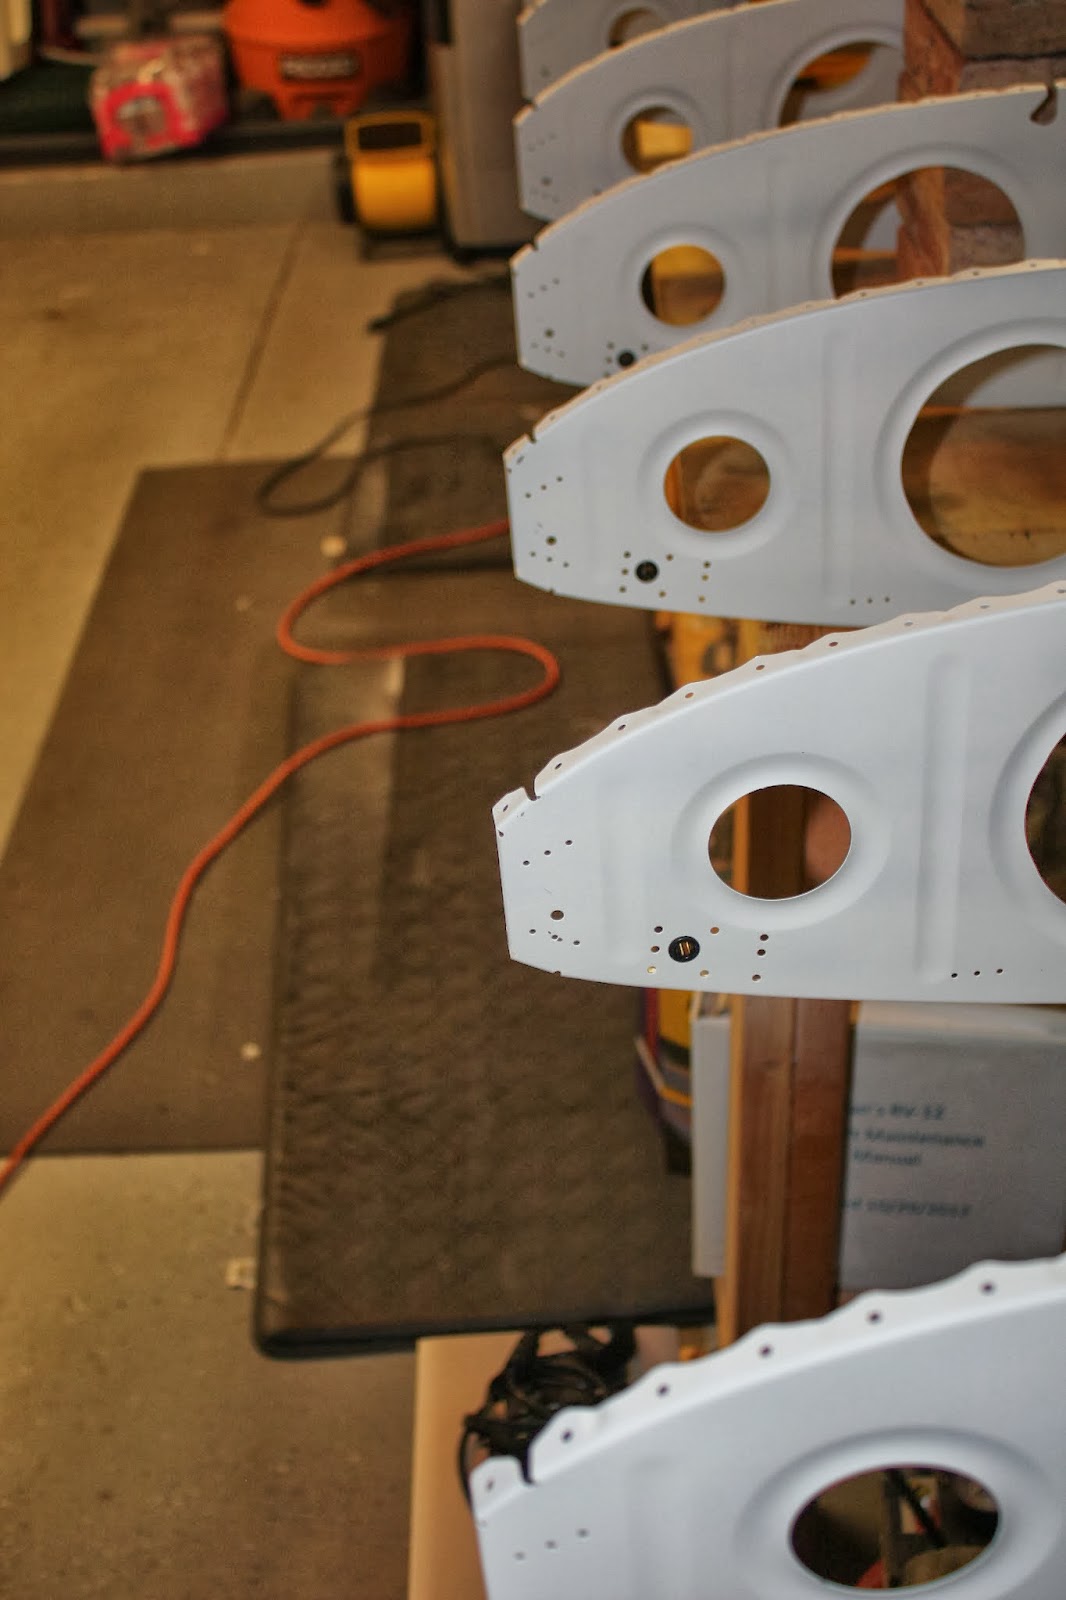
After shot!
Left wing main rib assembly. You're looking at the bottom aft main ribs in this picture. Pretty easy assembly. Six rivets, LP 4-3, to the attach flanges per rib.
Aft main rib attachment complete!
Nose ribs are cleco'd on. You really need to follow directions with the rib attachment. Some are different- flanges trimmed; some untrimmed; some both forward and aft trimmed; some with nutplates. The instructions indicate that the final inboard nose rib should be the one with three nutplates. I've reviewed the instructions- don't see any instructions to attach three nutplates on a single rib!! I'm investigating before riveting! This is an outboard view.
Another outboard review
Outboard view with aft spar cleco'd to the main spars. Garage is getting crowded with just this one wing. Need to figure out what I'm going to do!