August 23, 2014, 8 hours, 391 hours total
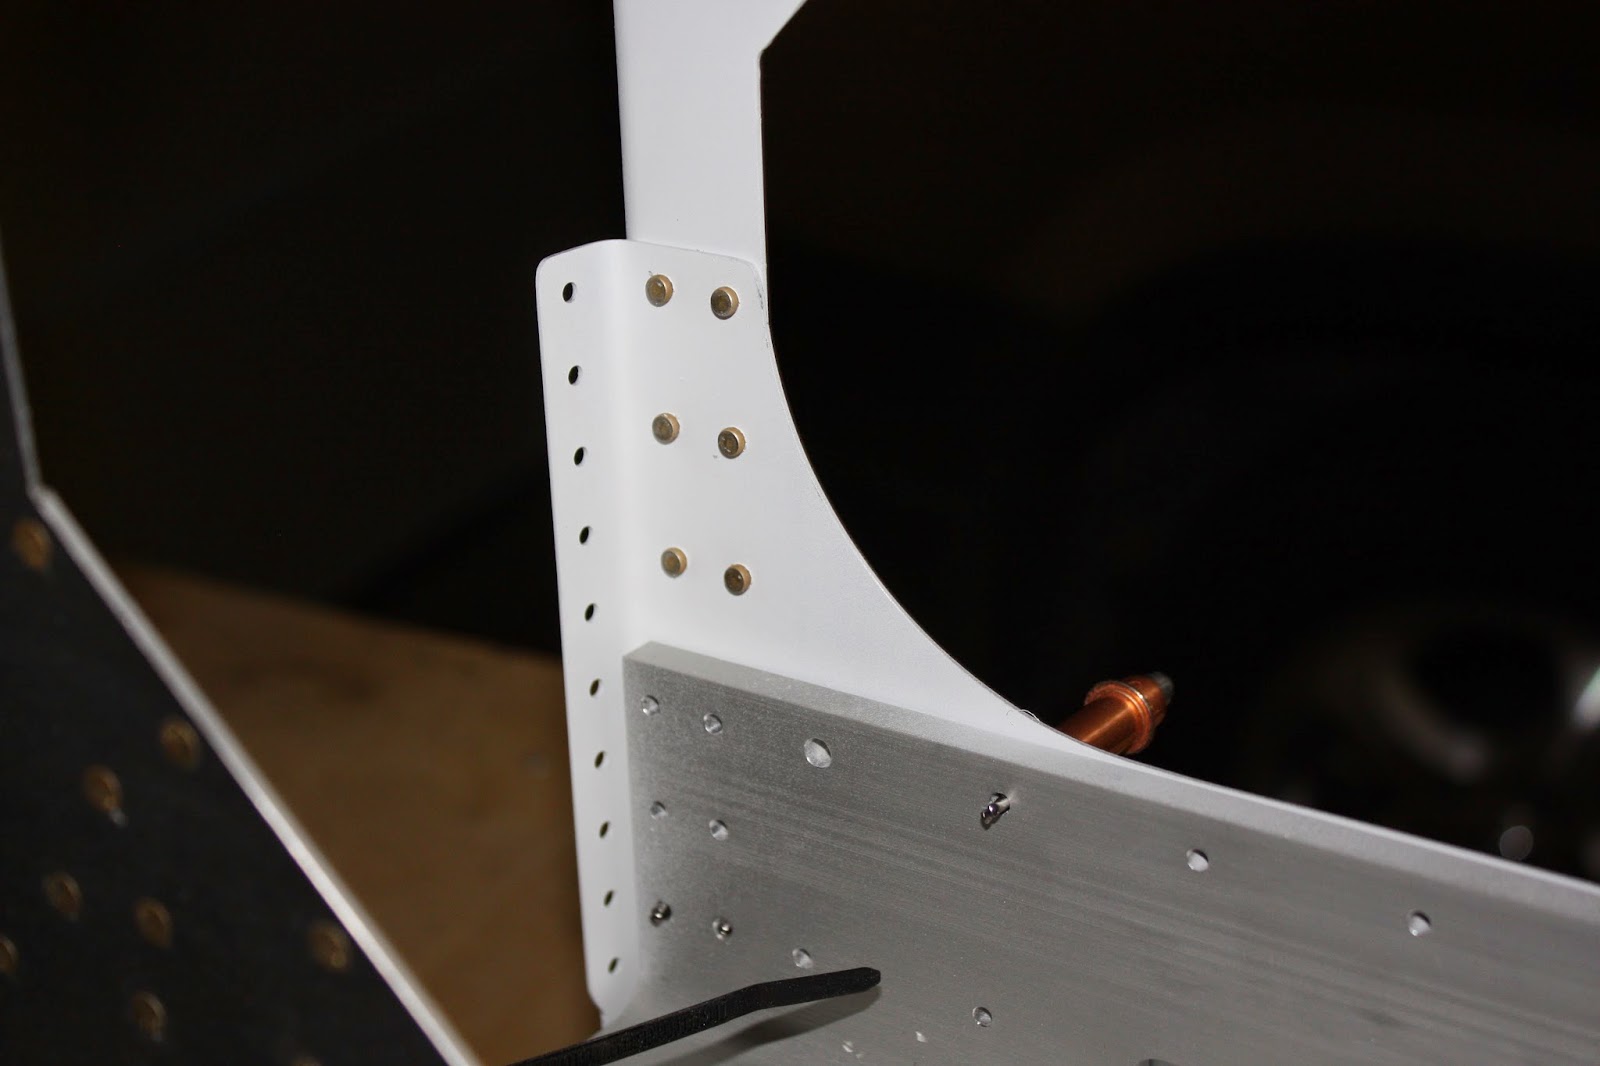
Work continued on the assembly of the Center Bulkhead, section 20 of the fuselage build. I countersunk the center section with the #30 100 degree countersink. The aft bulkhead is assembled with a combination of different type and sized rivets. Half of the rivets are flush, the other round head rivets, 426s and 470s respectively. The right aft bulkhead require flush head while the left half the round head rivets.
Assembly of the center bulkhead requires the left and skin attach flanges, two different sized skin stiffeners in addition to the aft bulkhead.
Pictured below are the left and right aft side bulkheads, and skin stiffeners, primed and ready to install.
The aft bulhead is shown prior to assembly.
Pictured below are the left and right skin attach flangles.
These next two pictures show the two flanges installed on the aft bulkhead using seven each LP4-3 rivets.You can see that I primed the attachment locations only.
Installation of the left and right bulkheads included AN470AD4-4, AN470AD4-9 and LP4-3 rivets.
A photo of the formed head side of the rivets. Pretty consistent if I say so myself.
In the next two photos you'll see the mix of AN426 and AN470 rivets along the upper roll of aft bulkhead attach.
Next two photos show the left and right skin stiffeners attached with CR3213-45 draw rivets.
Only three rivets installed in the second row of attach points. This completes assembly of the center section bulkhead.
Section 21, Mid Fuselage Ribs and Bottom skins is next. The completed assembly looks pretty complex. Should be fun!!
Total Pageviews
Sunday, August 24, 2014
Sunday, August 10, 2014
Fuselage-1
August 10,2014, 6 hours, Total 383
Well, the RV-12 build process has started once more. On June 21 I posted that the project was on hold as we changed homes. Well it's been almost two months of a lot of work, frustration, and satisfaction, but we're finally settled in and I'm able to continue with the project.
I was able to put about six hours in after finally getting the shop in order. I'm still building in one side of a two car garage. I'll work from the garage until it's time to connect the fuselage and tail section. I'm estimating another year.
What is pictured below is the aircraft center section. This is the primary load carrying section of the airplane. The main landing gear and wings will be anchored from the point.
The first task is to install one each outboard nutplates the two inboard nutplates.
Then the big work started. First the aft bulkhead is attached to the center section bulkhead using clamps and two AN4 bolts. Next, the section is lowered onto the lower fuselage skin. The clamps are loosened on the aft bulkhead and aligned with the skin. You know when everything is aligned because you're able to cleco the skin to the center and aft bulkheads. Once the alignment is complete, the work begins by match drilling, 73 locations, so the aft bulkhead can be attached to the center section.
Yes, I said 73 match drilled holes. The aft bulkhead skin is pre-drilled. It gets attached to center section aluminum angle iron, U-shape.
You can kind of see the angle iron in this photo. The fuselage skin has been removed and will be attached later.
Well, the RV-12 build process has started once more. On June 21 I posted that the project was on hold as we changed homes. Well it's been almost two months of a lot of work, frustration, and satisfaction, but we're finally settled in and I'm able to continue with the project.
I was able to put about six hours in after finally getting the shop in order. I'm still building in one side of a two car garage. I'll work from the garage until it's time to connect the fuselage and tail section. I'm estimating another year.
What is pictured below is the aircraft center section. This is the primary load carrying section of the airplane. The main landing gear and wings will be anchored from the point.
The first task is to install one each outboard nutplates the two inboard nutplates.
The next task was to install two retainer blocks, one to the center section, pictured below, and one on the right forward bulkhead side assembly, not pictured.
Then the big work started. First the aft bulkhead is attached to the center section bulkhead using clamps and two AN4 bolts. Next, the section is lowered onto the lower fuselage skin. The clamps are loosened on the aft bulkhead and aligned with the skin. You know when everything is aligned because you're able to cleco the skin to the center and aft bulkheads. Once the alignment is complete, the work begins by match drilling, 73 locations, so the aft bulkhead can be attached to the center section.
Yes, I said 73 match drilled holes. The aft bulkhead skin is pre-drilled. It gets attached to center section aluminum angle iron, U-shape.
You can kind of see the angle iron in this photo. The fuselage skin has been removed and will be attached later.
A lot more work let to go, but not a bad start.
Subscribe to:
Comments (Atom)


