Total Pageviews

Sunday, February 23, 2014

Wings - 19

2/23/2014 7 hours, 321 hours total.
Work continues on the right wing. I tested the landing light and verified continuity of all conductors. Additionally, I installed the outboard and mid upper wing panels.

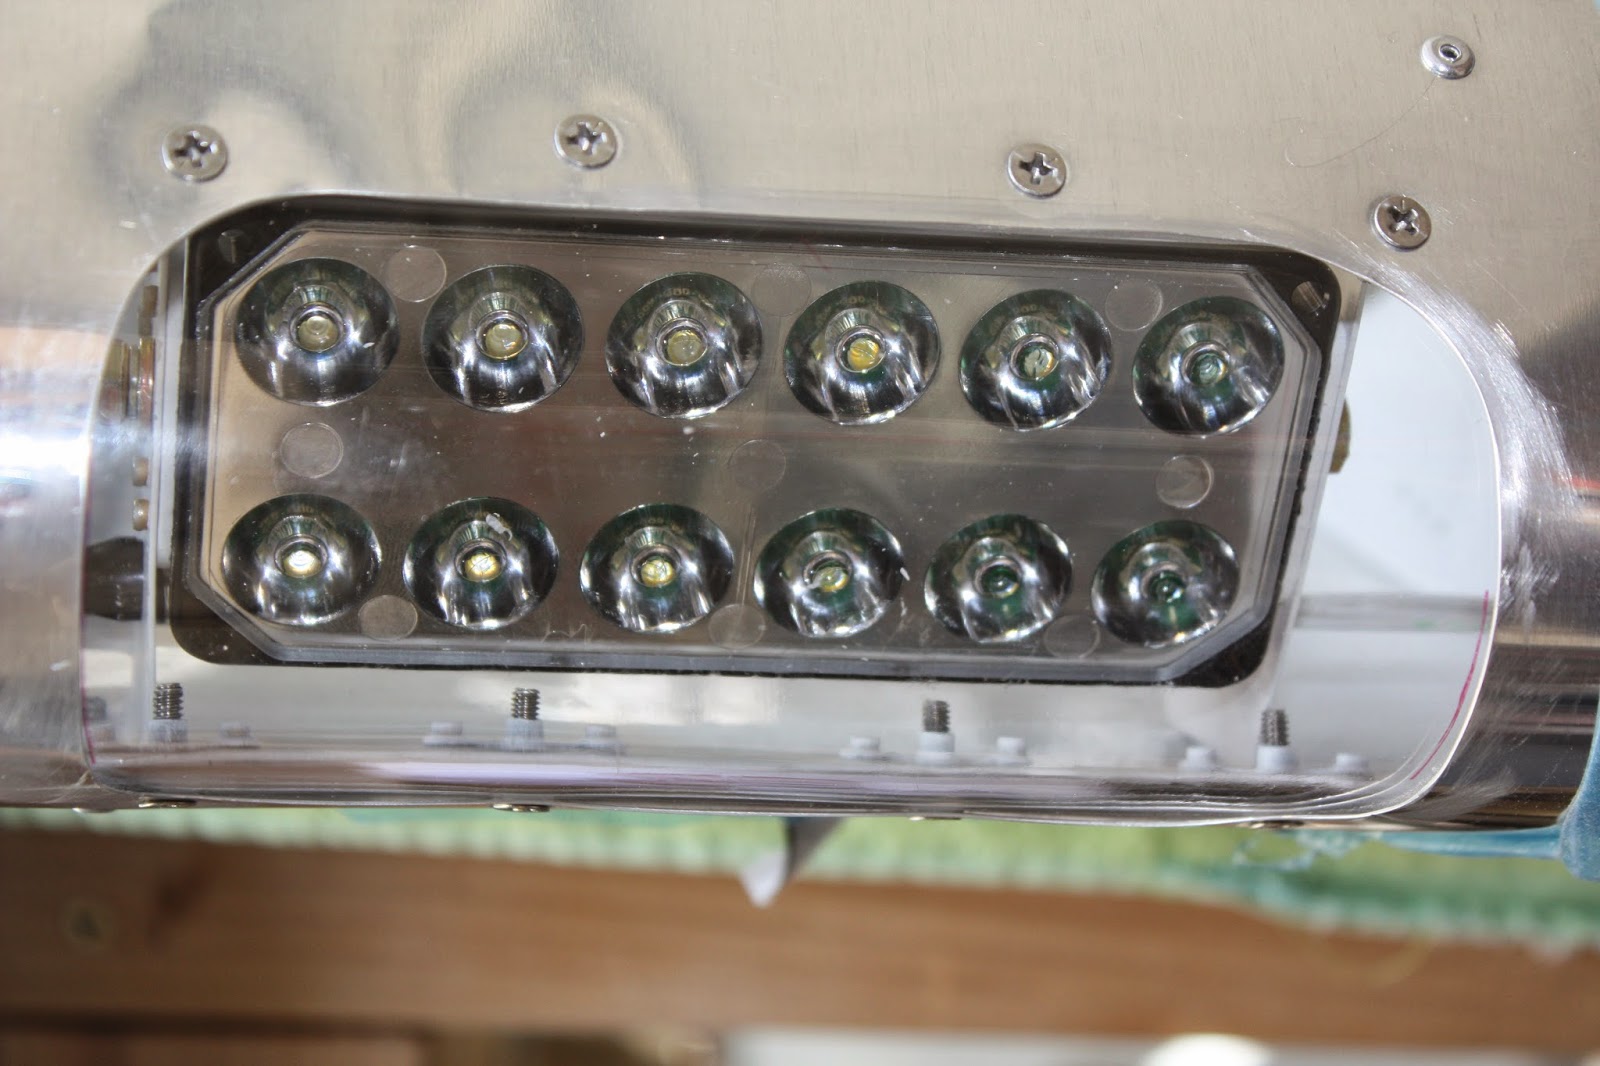
To test the landing light I used two 9v transistor batteries connected in parallel. I used test leads with alligator clips on each end. I used the skin of the aircraft for ground and then attached the positive clip to the appropriate contact at the wing root connector. Both modes, on and pulse worked just fine.
 After operation of the landing light was verified I preped the outboard and mid upper skins for installation. Again, this included deburring, sanding, priming and finally riveting to the wing structure.
 All closed up- next week I'll close out the tip.
Builders Note:
Right now I have a total of 321 hours logged on the project. 142 hours for the tailcone and 172 hours on the wing. Since I didn't complete all installations on the tailcone, I'd guess I probably have 50 hours work remaining on the tailcone and probably 50 hours left on the wings. So my estimate is that both assemblies will take about 420 hours to complete. Van's estimate for the entire aircraft is 700 to 900 hours. I'll definitety be closer to or over the 900 hour mark.

I'd be interested to hear from any builders out there and what your totals are. It's not a competition, I'm only trying to judge progress. I don't believe I'm taking any short cuts, but my total hours seem low.

Sunday, February 16, 2014

Wings - 18 Landing Light Installation

2/16/2014
6 hours, 314 hours total. Man, tough couple of days with the installation of the landing light. Finally finished with a lot of consultation. This was not an easy task, in my opinion.

First task was to assemble the landing light ribs. Pretty easytasking. Installation of the gorunding wire, grommets and doubler plate/
 View from the rear after probably 5 hours of frustration. The instructions say to install using AN3-3 bolts and 'aeroled washers'. I found the bolts but could not locate the washers. I searched through the kit and found a packet with the washers and two allan head screws. Aw, I decide, this is probably what I need to use. Wrong. Soon as I attempted to tighten the screws the allan wrench would slip. I couldn't get the screws to tighten down. Next morning after doing some research I discover that Van's doesn't use the screws that come with the kit and instead provide the AN3-3's.....because of space limitations.

Next morning I attempt the install one more time. Still couldn't get the light tightened with the provided hardware. I then decided to switch out the AN960-10L washer with a AN960-10 and presto. it worked!!

I honestly do not know how you would install once the wings were covered.

View form the rear after installation. Instructions say tie wrap as necessary- I just followed the pictorial in the Van's instructions.


 One hour later, lens installed!


Sunday, February 9, 2014

Wings - 17

15 hours, 308 hours total
02/09/2014 - Another productive weekend. I was able to get 15 hours in between Friday and today.

Friday I cleco'd the W-1201-1202 and 1203 panels to the top-side skeleton. Only the first five leading edge rivets are installed at this time.

 This is a good view of the main spar, ribs and cleoco'd top skin.
 After the leading edge rivets were installed, I installed the two flaperon support brackets/hinges, parts W-1216B. Some of these rivets are difficult to install because of their location near the rear spar assembly.


 Following the installation of the two flaperon hinge brackets I installed the W-1201 inboard upper wing skin. This skin alone has about 400 rivets. The white stripe is primer overspray that will be cleaned up later.
 I still need to install the wing walk doubler plate on the inboard skin.
 The right wing houses the landing light. An option I chose to install. A template is provided to mark the location of the hole that needs to be cut in the outboard panel. This took awhile and a lot of patience. I used a step drill to drill four hours in upper, lower and left, right area of the cut-out. I then used left/right aviation snips to cut out the section. If I had to do it again I would have used a thin cut dremel blade to make the cut. It turned out pretty well.
 A view from the backside.
 In addition to the cut out, lens mounting holes are located and drilled along with holes for the landing light ribs. The lens was match drilled and in this picture is cleco'd in place. You can see the wiring behind the lens.
 Pictures of the landing light ribs and lens brackets after nut-plate installation.
 Prior to removing the cleco'd lens from the landing light location, I marked the lens for trim per the instructions.
 And three hours later, the finished product. I used a dremel with a thin cut saw blade to trim the lens. I then used a dremel sander, 220 grit followed by 600 grit wet sand paper to smooth the edges. I'm happy with the finished product. Thanks Tito for the advice!
 Primed light mounting hardware as identified above
 And a final view-
And finally, the fuselage kit order has been placed with Van's. That should arrive in 8 to 10 wings. I should be ready by then!!

Saturday, February 1, 2014

Wings - 16

2/01/2014 11 hours, 293 hours total
I has been while since my last post, but I am making some good progress. I was able to spend a good portion of Friday out in the garage, and 4 hours today. This is work on the right wing. I installed wing panels W1201, W1203 and W1202 in that order. This included deburring, sanding the edges and corners of each of the panels and then priming. Once that was complete I cleco'd each of the panels, final drilled the holes and then deburred each of the holes. Finally, the panels were riveted to the wing skeleton. I wing is ready to flip so flaperon hindges can be installed along with the three top panels.

View of the bottom side of the right wing- rivets all installed. Blue protective covering still in place to minimize scratches.

 These pictures illustrate how crowded the garage is becoming. On the upper left of the picture you can see the tail section covered up for protection. Upper right is the vetical stabilizer. Below that is the left wing in the wing cradle. And behind the left wing is the stabilator which is not visible. And of course, the right wing sitting on the work benches.

 There is some room to move around, not bad.
 As soon as the wings are complete, all subassemblies will be moved into storage. One of the EAA chapter members has volunteered some space in his hanger.

Drum roll- as soon as I fimish this post I'm going to order the Fuselage kit. That will take 8 - 10 weeks to arrive. Considering the progress I made over the past couple of days, maybe I should have ordered sooner. I still have to finish installing the upper wing panels; install the wing tip close-out; Install the wing tip position lights; install the landing light; and finally build the flaperons. Seems like a lot of work, maybe my timing is correct!!